Example of application development of mathematical expressions with interception of possible exceptions
This topic demonstrates the use of processing subsystem of exceptions that may occur when expression is evaluated. An example of using the instructions “try … throw … catch” in the application is given.
The task
Develop the application in C++ on a template “Windows Forms Application“, which solves the problem of expression calculating.
In the calculation of expression is necessary implement the interception of critical (exceptional) situation using a “try … catch” block. In the application you need to implement the generating of an exception with the help of the “throw” statement.
Create an application, which for given values of x and y calculates the value of expression:
Progress
1. Create the project.
Run MS Visual Studio. Create the project as “Windows Forms Application” template.
Creating a new project is described in more detail here.
2. Placing controls on the form.
Place on the form the following controls using the Toolbox:
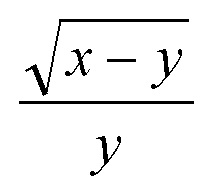
- two controls of “Label” type to output the information messages “x = ” и “y = ” (Figure 1). Automatically are created the objects (variables) which named “label1” and “label2“;
- two controls of TextBox type (Figure 2). The two objects named “textBox1” and “textBox2” are created;
- one control of type Button (Figure 3). The object named “button1” is created;
- one control of Label type to display the result of calculation. The object named “label3” is created (Figure 4).
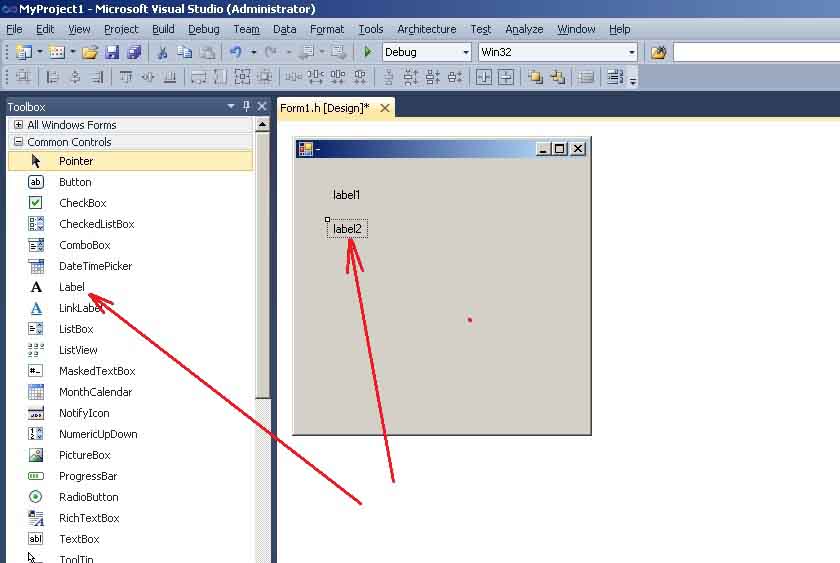
Figure 1. The control Label
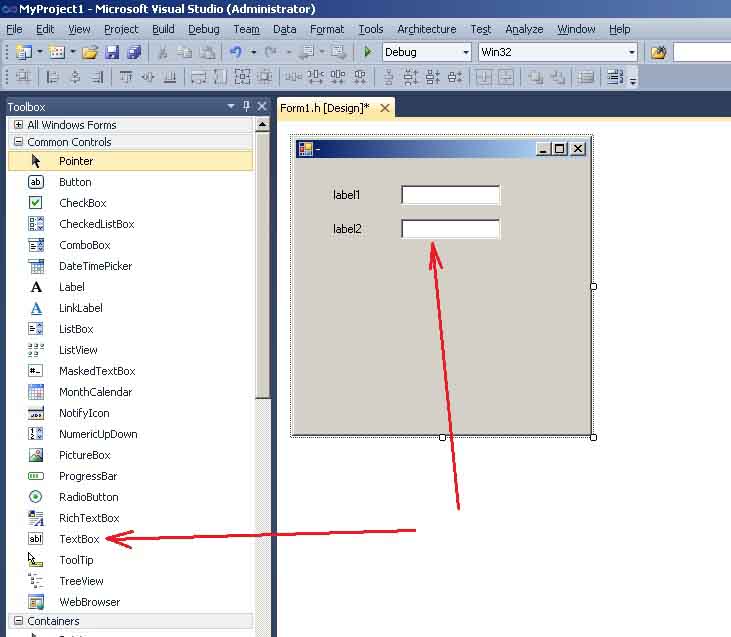
Figure 2. Placing of controls TextBox
Figure 3. Placing the control of Button type
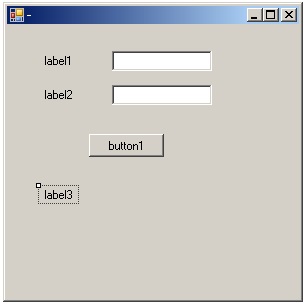
Figure 4. The form of the program after placing the controls
3. Customize control properties
The example of setting the properties of the controls is described here.
Setting properties is carried out in the Properties window (Figure 5). In the top of the window is indicated the object, which is active (eg label1). For that object can be done setting of properties. There are two ways to activate the object:
- select an object from the top-down list in the Properties window;
- select an object on the main form.
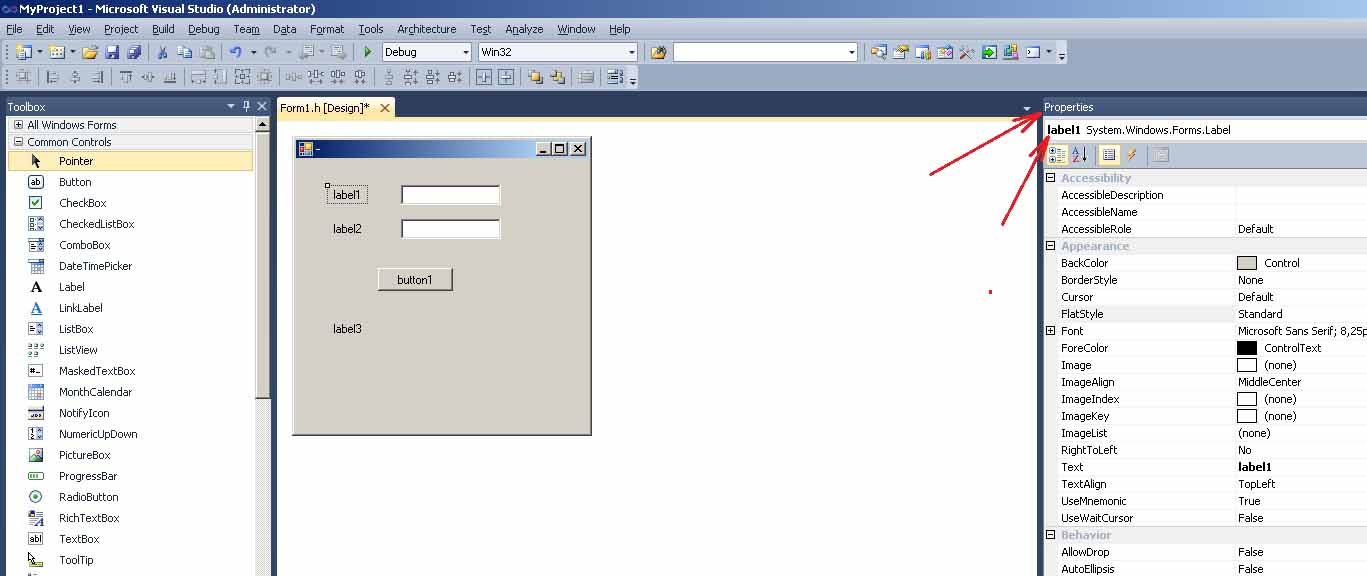
Figure 5. The Properties window
According to the condition of the problem you need to set the following properties of the controls:
- in the control label1 property Text = “x = ” (Figure 6);
- in the control label2 property Text = “y =“;
- in the control button1 property Text = “Calculate“;
- in the control label3 property Text = “Result = “;
- in the control Form1 (main form) property Text = “Expression calculation“.
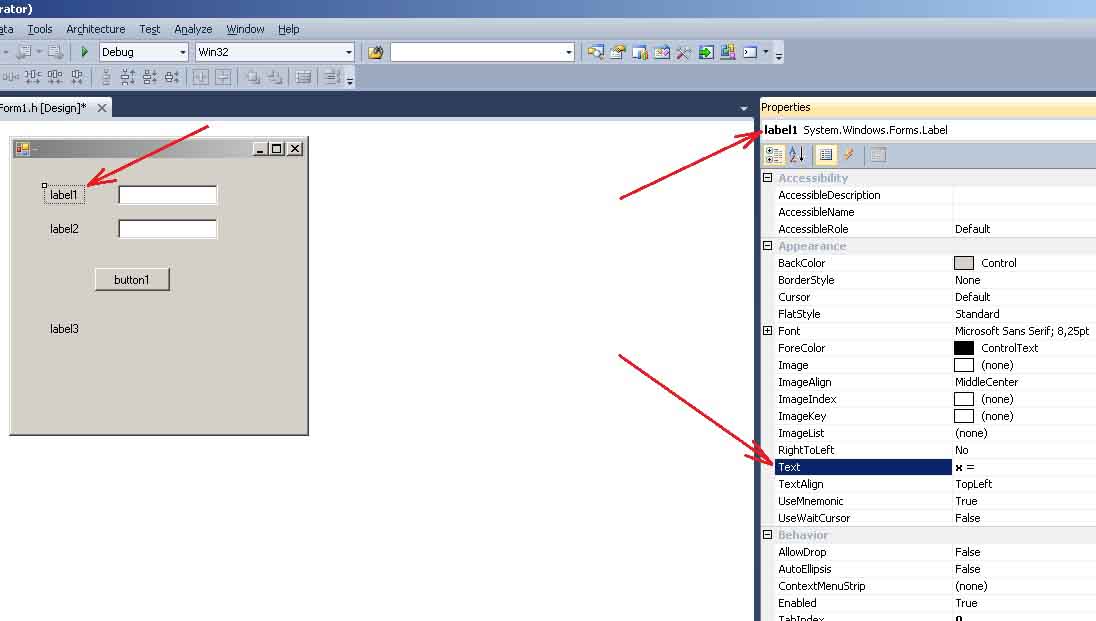
Figure 6. Specifying the property “Text” in the label1 control
After placing and setting the application form will look as shown in Figure 7.
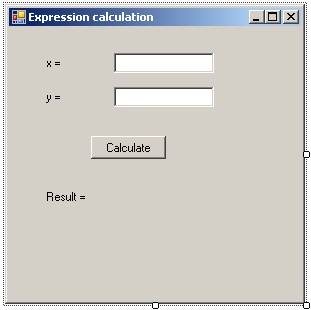
Figure 7. The application form after calculating and customization
4. Programming the event handler of click on the button “Calculate“
The final step is the execution of the calculations, which is carried out by clicking on the button “Calculate“. In this case, is programmed the event “Click” of “Button” control.
More details about programming a click event on the button is described here.
The event handler button1_Click() will be obtained after the programming of event:
private: System::Void button1_Click(System::Object^  sender, System::EventArgs^  e)
{

}
In this handler between the { } brackets need to enter your own code of calculation the expression.
After entering the code of expression calculating, the event handler button1_Click() will be as follows:
private: System::Void button1_Click(System::Object^  sender, System::EventArgs^  e)
{
    double x, y;
    double res;

    // in the try block is placed code, which need to intercept
    try
    {
        // on an empty input verification
        // the exception of char* type is generated
        if ((textBox1->Text == "")&&(textBox2->Text == ""))
            throw " values x and y have not entered";
        if (textBox1->Text == "") throw "not entered x"; // type char*
        if (textBox2->Text == "") throw "not entered y";

        // get the value from textBox1 and textBox2
        x = System::Double::Parse(this->textBox1->Text); // first way
        y = y.Parse(this->textBox2->Text); // second way

        if ((x-y)<0) throw 1; // exception #1 - square root of a negative number
        if (y == 0) throw 2; // exception #2 - division by zero
        res = (double)Math::Sqrt(x-y)/(double)y;

        // if there is no exceptions, then displaying result
        label3->Text = "Result: " + res.ToString();
    }
    catch (int t) // exception handler of type "int"
    {
        // intercept, if there is an exceptional situation
        if (t==1)
            label3->Text = "Error! The square root of a negative number.";
        if (t==2)
            label3->Text = "Error! Division";
    }
    catch (char * s) // exception handler of type "char*"
    {
        // convert char* to String
        String ^ss = gcnew String(s);
        label3->Text = ss;
    }
}
Let’s explain some of the code snippets.
In the try block is placed the code that you want to control. In our case this is:
- entering empty values in controls textBox1 and textBox2;
- expression under the square root, which may take a negative value. Since the square root of a negative value does not exist, it may cause an exception;
- denominator, which may take a zero value. As is known, division by zero will cause an exception or overflow.
The throw statement generates an exception, which is caught by catch-instruction.
The statement throw contains information about the exception. This information can be of different types and processed in the “catch” block, which follow after the “try” block.
For demonstration purposes, the application generates four exceptions using the throw statement:
- two exceptions of type char* in the form of an error message;
- the two exceptions of type int as an integer code.
Using of exception handling system “try … catch” gives for programmer a convenient tool for handling exceptions.
5. Run the application
After, you can run the program and test it.